How to Remove Car Decals: A Step-by-Step Guide
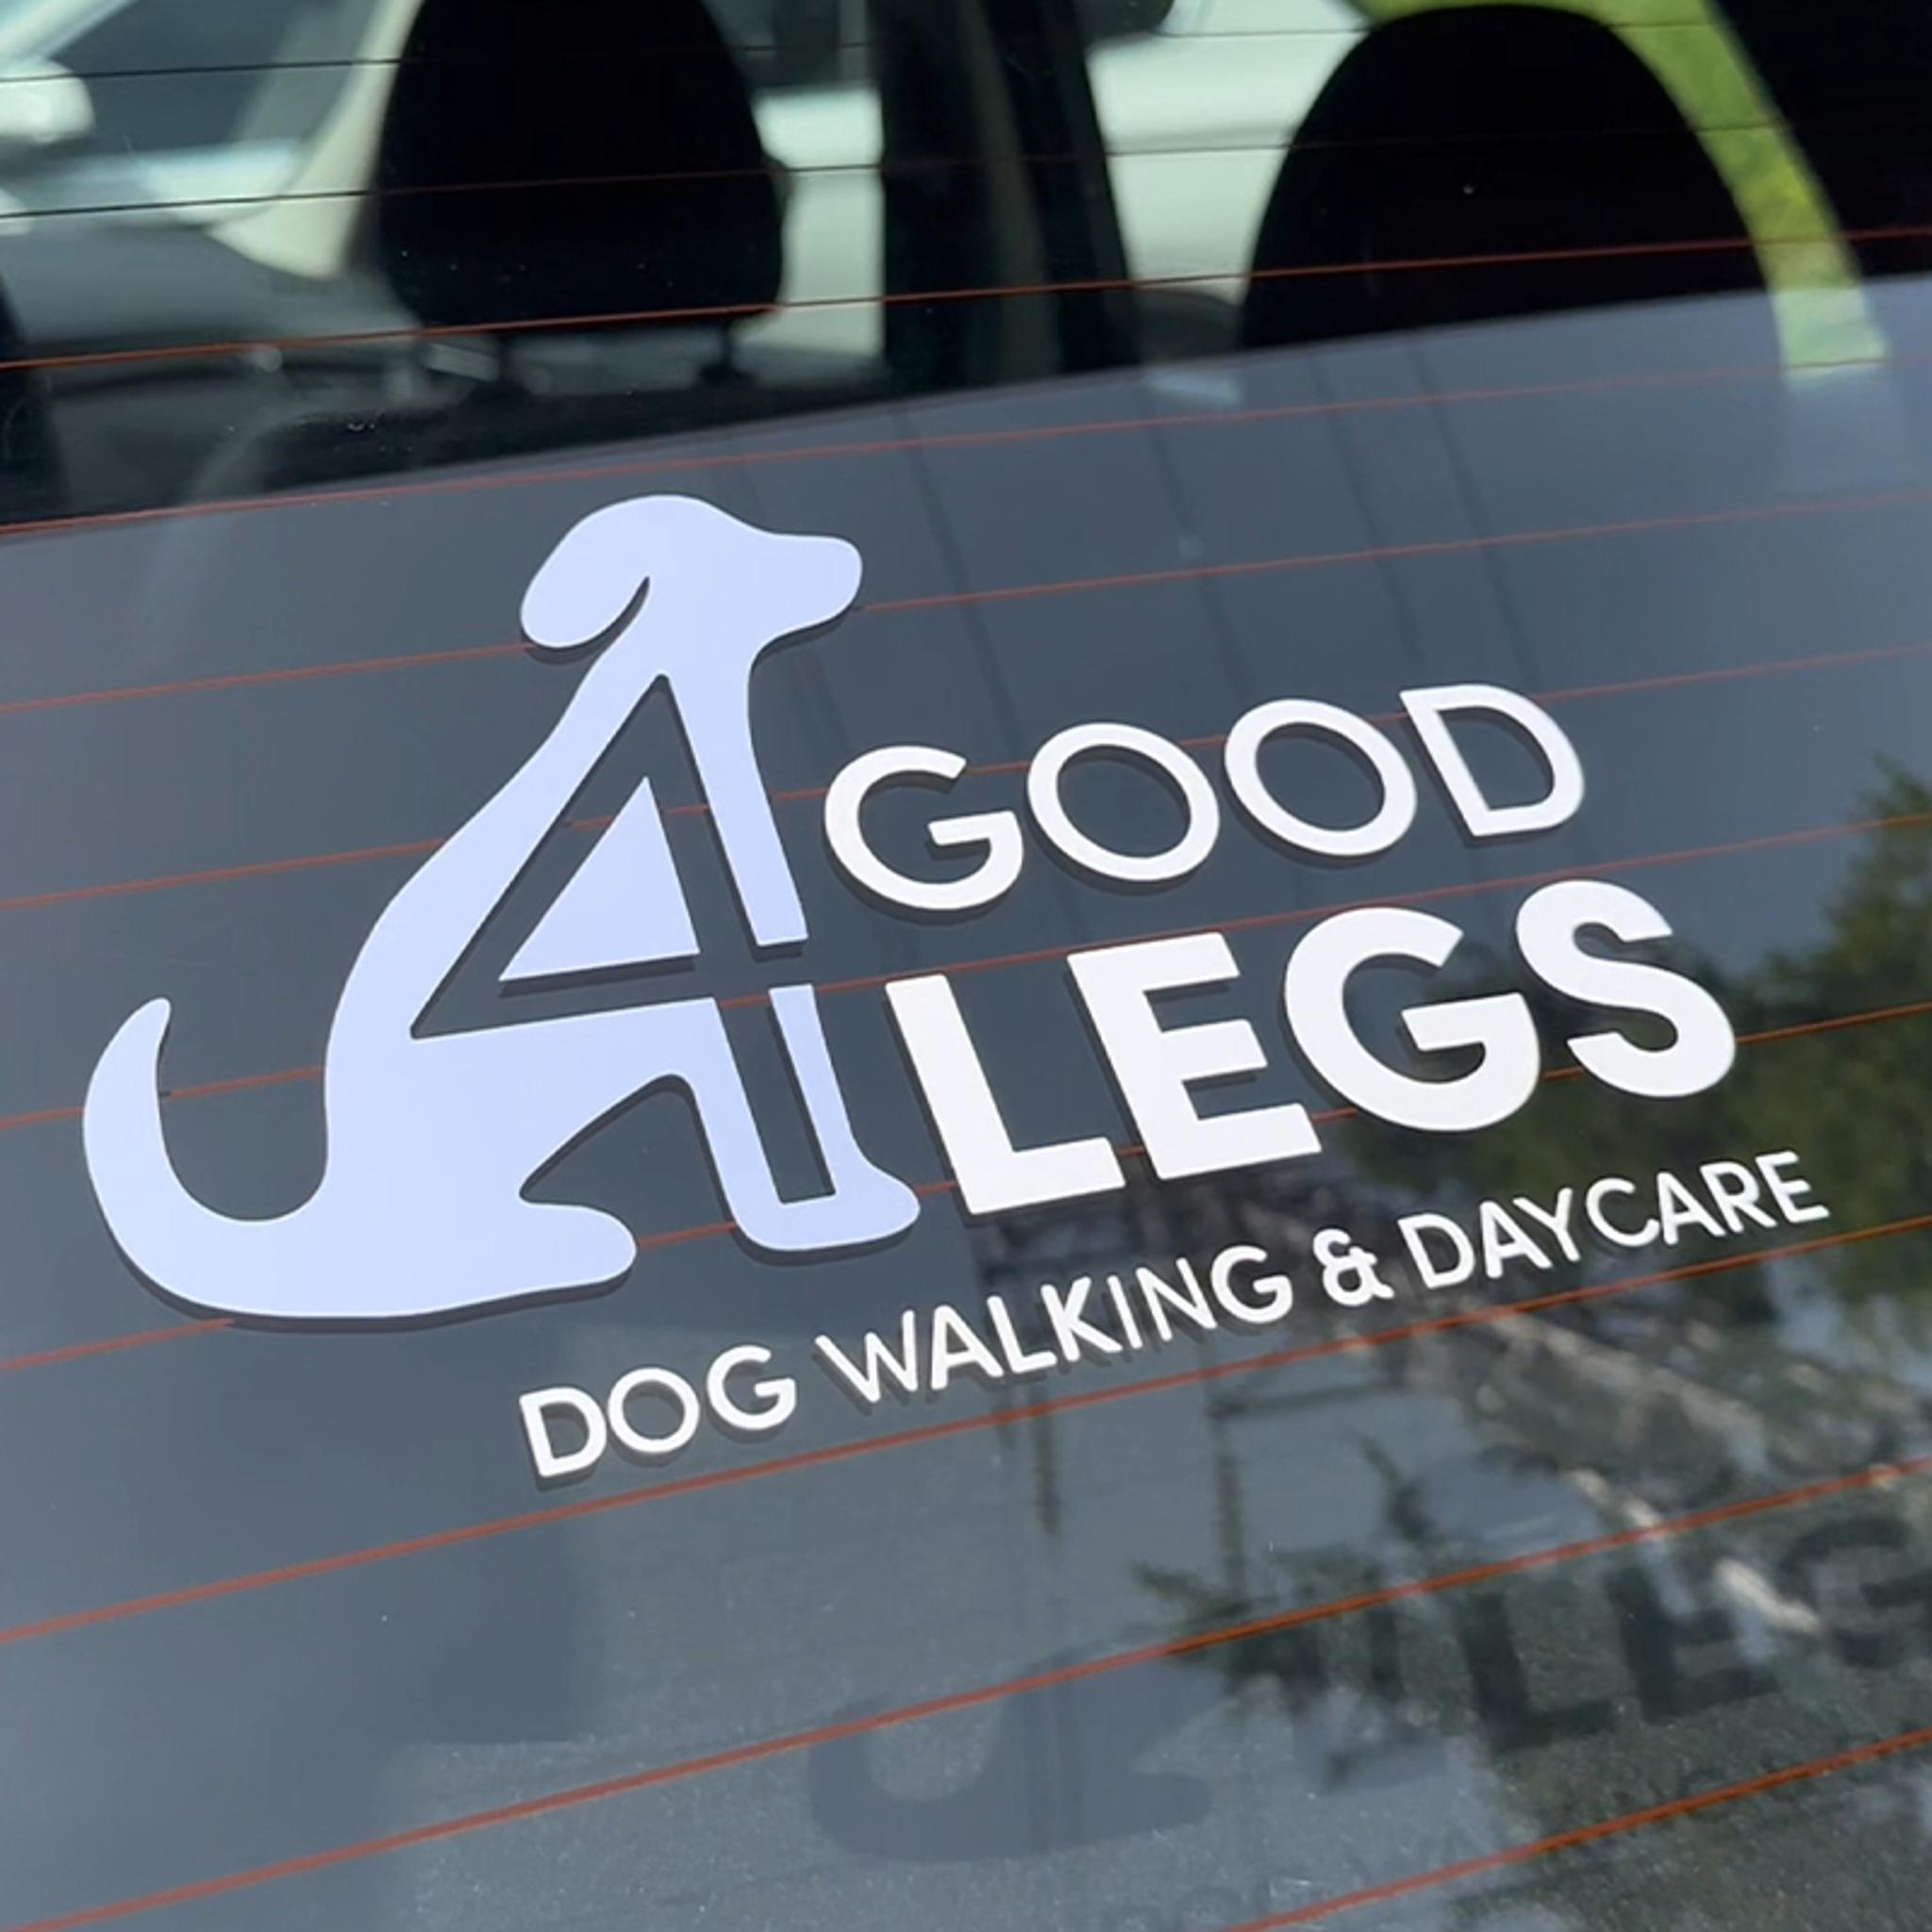
Whether you’re updating your business branding or just clearing space for a new custom car decals, knowing how to peel back the old ones properly is key to keeping your paint job in tact.
Applying high-quality vinyl is the easy part — but removing it after years of sun and weather requires a bit of technique. This guide walks you through the safest ways to remove stickers and decals from your car’s exterior and glass without leaving a sticky mess behind.
What You Need
Before you start, gather these common household items. Using the right tools prevents scratches and saves you from hours of scrubbing.
Heat source: A hair dryer is perfect (a heat gun works too, but keep it on a low setting).
Plastic scraper: Use an old credit card or a plastic putty knife. Avoid metal blades on paint.
Adhesive remover: Goo Gone Automotive, rubbing alcohol or even white vinegar works.
Cleaning supplies: Soapy water (dish soap works great) and a clean microfiber cloth.
Finish: Car wax or detailing spray to restore the shine.
Step 1: Clean the Area
Dirt and grit act like sandpaper if they get caught under your scraper. Wash the decal and the surrounding area with warm, soapy water and pat it dry. This ensures you aren't grinding debris into your car while you work.
Step 2: Apply Gentle Heat
Vinyl is most flexible when it’s warm. Use your hair dryer to heat the decal for about 30–60 seconds. Hold it a few inches away and move it in a circular motion. You want the adhesive to soften, not the vinyl to melt — if the surface feels too hot to touch comfortably, pull the dryer back.
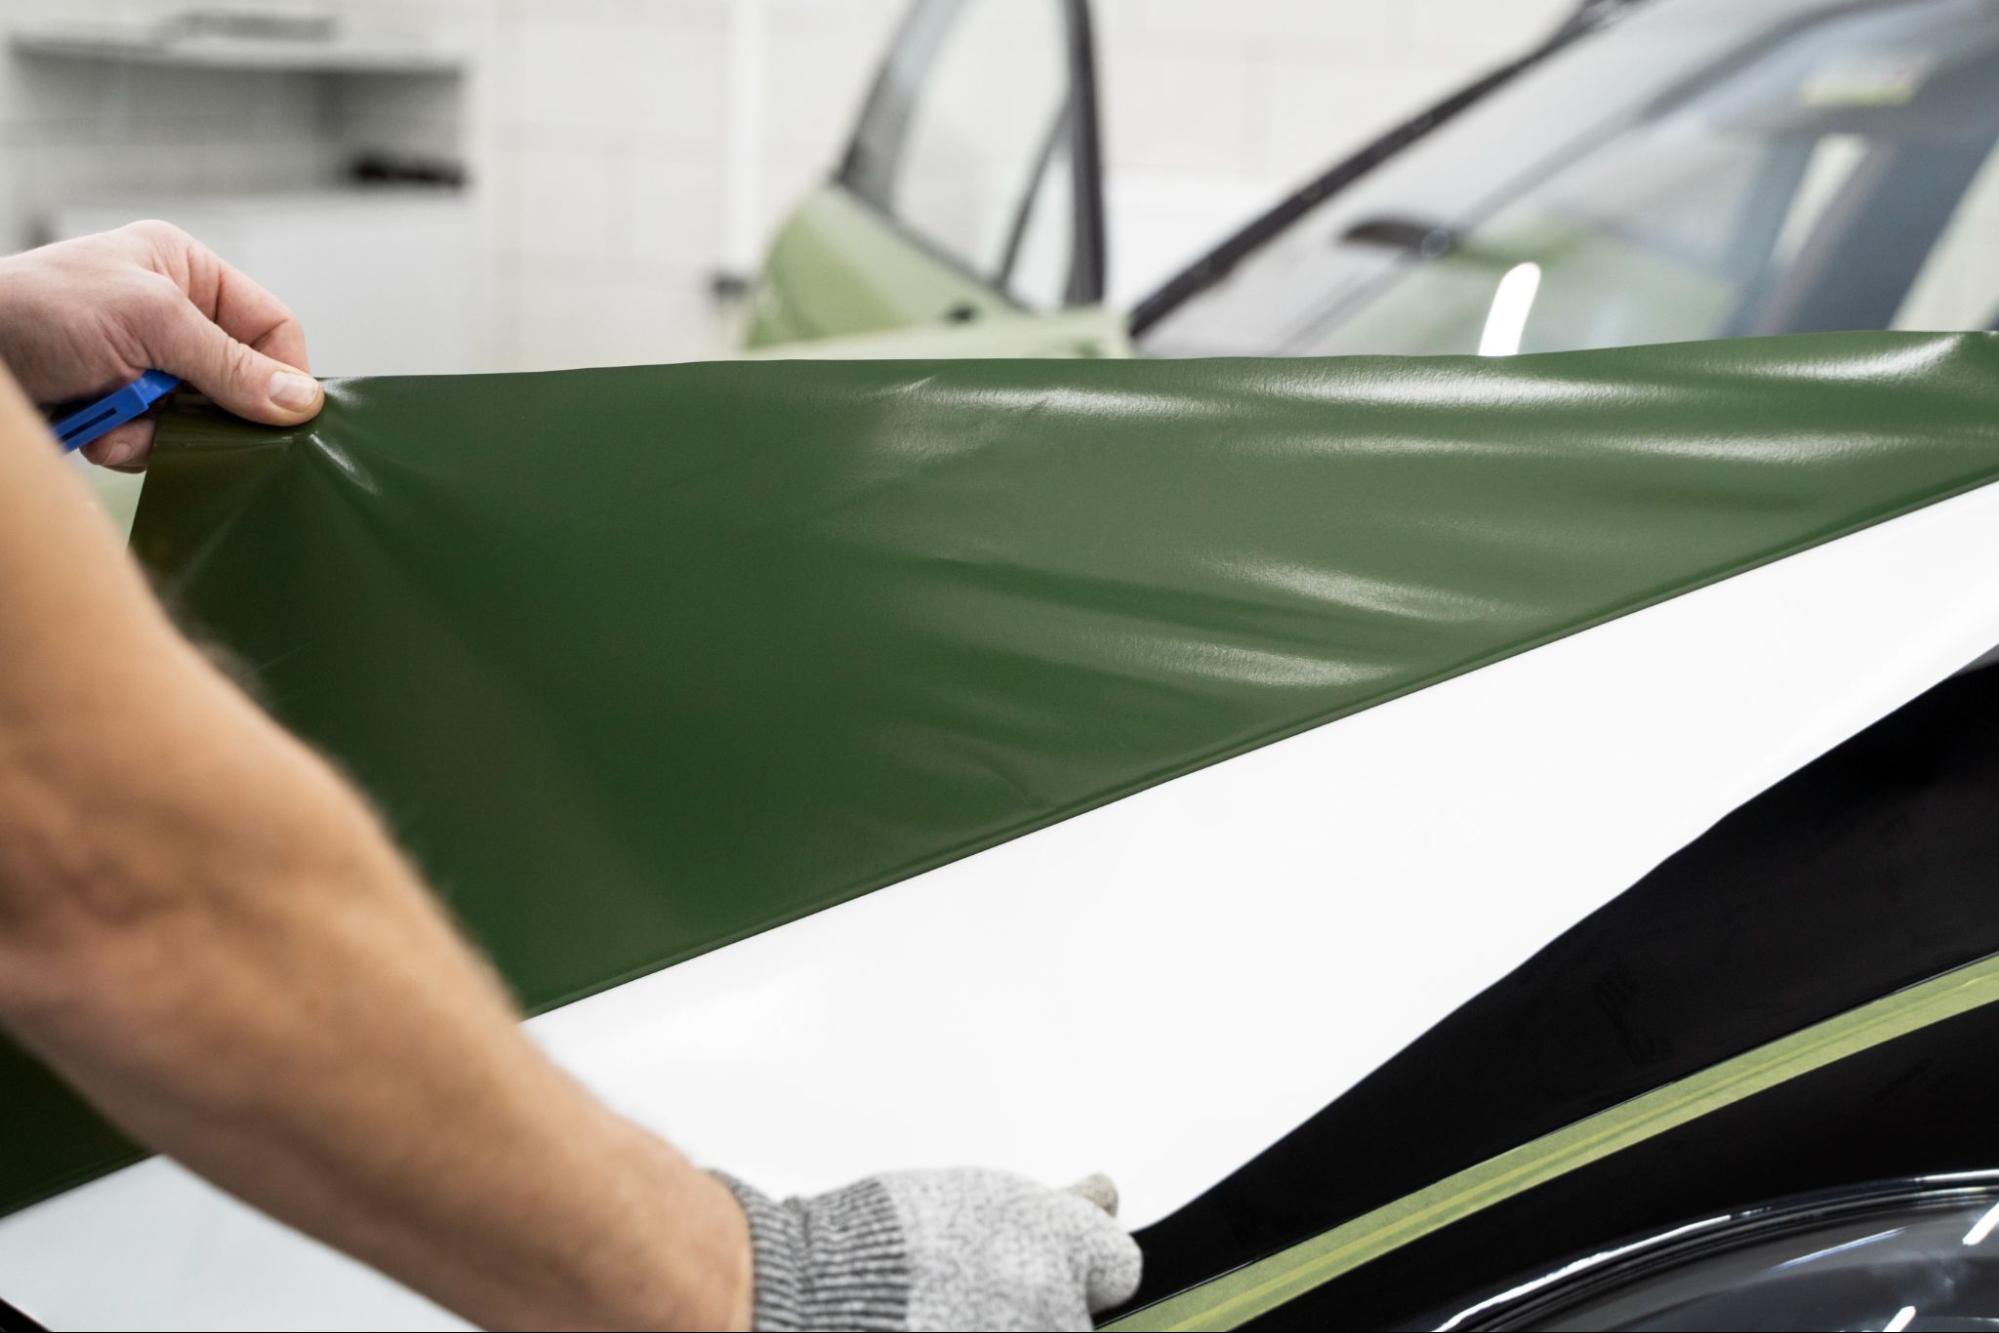
Step 3: Peel Gradually
Once the decal is warm, use your plastic card or fingernail to lift a corner. Pull the decal back at a tight angle, staying close to the surface of the car. Don’t yank! Pulling straight up can increase the risk of peeling the paint or snapping the vinyl into tiny, annoying pieces. If the decal starts to feel brittle or resists, apply more heat.
Step 4: Deal with the Sticky Stuff
Even the best removable vinyl can leave a little bit of adhesive behind, especially if it’s been on the road for a long time. Apply your adhesive remover to a microfiber cloth and let it sit on the residue for a minute. Gently wipe the area until the surface feels smooth. For glass surfaces, a standard glass cleaner or rubbing alcohol usually does the trick.
Step 5: Post-Removal Care
Once the residue is gone, give the area one last wash with soapy water to remove any chemicals from the adhesive remover. Because these removers can also strip away your car’s protective wax, you can apply a quick coat of car wax or a detailing spray to protect the paint and keep it looking the same as the rest of the vehicle.
How To Deal With Stubborn Decals
If the heat method isn't cutting it, try these backup options:
A soak: For paper-based stickers (often found on windows), saturate a cloth in hot, soapy water and hold it against the sticker for five minutes to break down the bond.
Vinegar: White vinegar is a natural adhesive eater. It’s a great way to loosen the grip of older decals.
Razor blade (for glass ONLY): You can use a razor blade scraper on windows or windshields, but never use one on the painted body of your car. Even then, keep the blade at a shallow 45-degree angle to avoid scratching the glass.
Ready for a Refresh?
It’s the perfect time to design something new now that you have a clean slate. We offer a variety of durable, weather-resistant materials — including white vinyl, clear decals, and even car magnets for a non-permanent option. Our materials are UV-coated to stand up to the elements while staying easy to remove when you're ready for your next update. Get started on your project today.